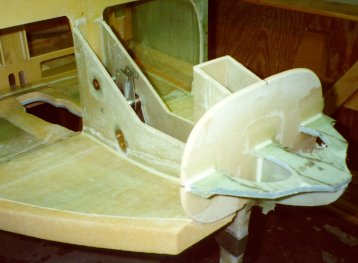
After completing the Nose Gear Box (NG-30's, etc.) I hot glued a small wooden block to the upper end of the NG-30's so that I could easily clamp them to F22. I used some scrap 1" x 4" 's (actually the old fuselage side masonite jig supports) to support the front end of the NG-30's (to keep F22 from sagging, and I lowered the nose strut. I leveled the fuselage from side to side and used a plumb bob to ensure that the strut was perfectly vertical. I had drawn a line on the floor (using a plumb bob for reference) through the center of the firewall and the center of F22, and I extended this line forward to the strut. By positioning the NG-30's on F22, using a level to ensure that they stayed vertical, and using the plumb bob to keep the strut both vertical and DIRECTLY over the centerline, I kept everything aligned.
Once I had this done, I clamped the NG-30's tightly to F22 and glassed them as in the plans with 2 BID inside and out.
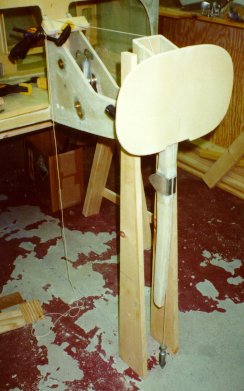
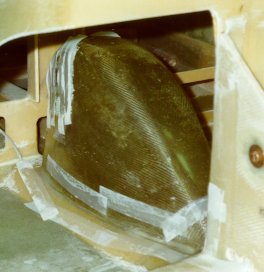
You can see the plumb bob, the whole assembly, and the wooden clamp blocks (as well as the supports) in this photograph.
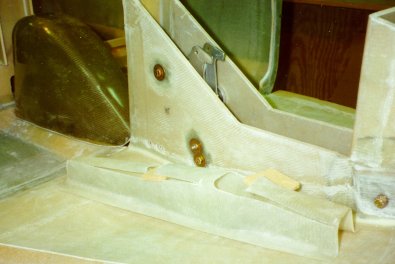
Next, I carved the fuselage nose bottom pieces from 2" urethane foam (LOTS of foam dust!) and microed them to F22, F0, and the NG-30's. I then glassed them with 2 BID (3 BID where the rudder pedals go) lapping onto the three sides, and then trimmed the glass after cure.
You can see the Foam bottoms with the glass installed and trimmed in this picture. (You can also see some of the nose cone support structure, as well as the Nose Wheel cutout behind F22).
After that, I finished up the strut assembly (attaching the MKNG-15 with flox and screws) and trimmed the strut cover and nosewheel cover to fit in place in the fuselage bottom. I needed to carve a rounded groove in the top of the strut to clear the bottom part of the VENGR assembly, and then glass 1 BID over the sanded area.
I needed to modify the strut cover (from Featherlite) which was not deep enough to hold my strut in the retracted position. I cut it up, reglassed it, and then floxed it in place.
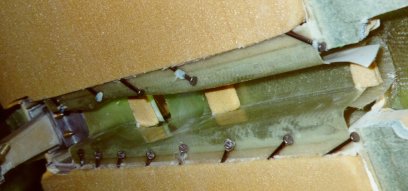
I cut holes in the nosewheel cover, and then floxed and glassed small plexiglass windows in place for nosegear viewing and glassed the nosewheel cover in place as well. I then microed and glassed a small triangle of foam in place between F22 and the nosewheel cover to deflect hot air coming out of the heat duct.
I moved on to the nose cone, landing lights, and pitot/static tube section for a while, and then returned to the fuselage sides, top and exterior after finishing the nose cone, pitot tube and landing lights.
|
[Zeitlin's Cozy MKIV Information]
[Zeitlin's Cozy MKIV Logbook] [Cozy MKIV Information]
|