[ Back ] [ Up ] [ Next ]
Miscellaneous Modifications
Date: December, 2007
After returning from a nice Thanksgiving at Bill and Marilyn Seibold's
beautiful home in Bisbee, AZ (where they live right on the airport - nice!), I
decided to start a bunch of mods/changes to the plane.
- Install a hidden rudder belhorn on the right winglet (I had done most of
the prep-work when repairing the wing a year ago, and I had installed the
conduit for BOTH belhorn cables during the original build, just in case).
- Rudder Hinge Attachment Mods:
- Remove the visible screws holding the rudder hinges onto both winglets -
use Clickbond studs and fiber-nuts instead.
- Remove the non-flush rivets holding the rudder hinges to the left rudder
and replace with flush rivets.
- Raise the incidence angle of the canard one degree to remove the elevator
down deflection during cruise.
- Make a removable canard cover, inspired by what Bill Kastenholz has on his
COZY MKIV, and similar to what I believe Velocities have. This will allow me
to remove the forward fuselage cover without having to remove the canard.
- Add cooling air exhaust scoops on top of cylinders 3 and 4. Bill Seibold
told me that his CHT's dropped 20-30F when adding these exhaust scoops to his
O-320 powered COZY III, so I figured I'd try it.
- Replace the bolts in the rudder pedal cross torque tubes with taper pins,
to remove the little bit of play in the system.
Hidden Rudder Belhorn - Right Winglet:
I used the hidden rudder belhorn as sold by CG Products. Very nice
workmanship, as with all their products. I followed the standard installation
instructions for the hidden belhorn. The hardest part was lining up the belhorn
in the hollowed out rudder and getting it to line up with the end of the cable
conduit in the wingtip. But the installation is pretty straightforward - no real
gotchas. I've still got more than the 4" minimum deflection of the rudder as
required in the plans.
Sorry - I have no pictures of the hidden belhorn installation, but it looks
pretty much like it does in the installation instructions.
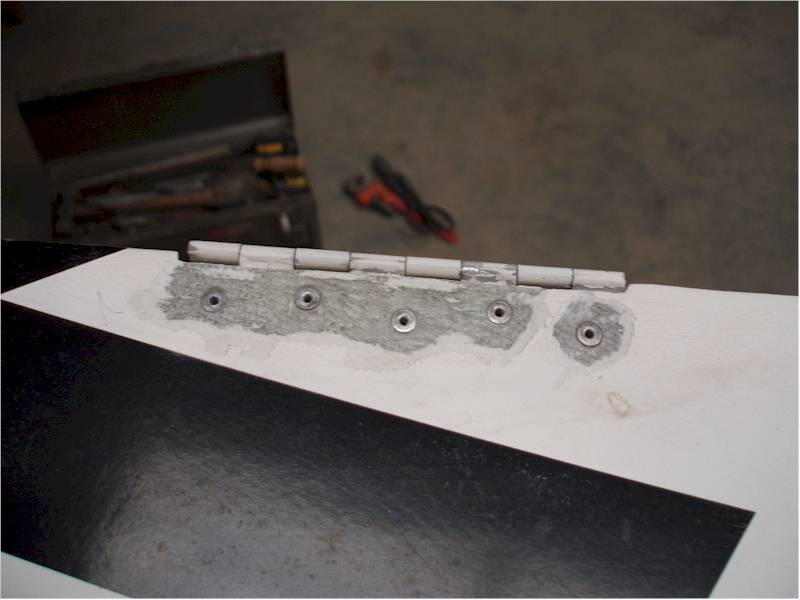
Rudder Hinge Attachment Modifications:
- I removed the nutplates from the hinge half that mounts on the winglet.
First I made a "cover plate" from 3 BID that form fit on the back side of each
hinge. Then I used the acrylic adhesive that came with the Clickbonds to bond
them in place on the INSIDE of the winglet flange. Since this would
offset the hinge centerline inward, I angled the studs rearward so that the
hingeline could stay in it's original position. I then covered the stud bases
with flox, put the "cover plate" over them, and attached the perimeter of the
cover plate with 2 BID all around. The studs are bonded to the winglet and
encapsulated with the flox and BID. Probably way overkill. Right now, it looks
like crap, but once I fill and sand the exposed holes with micro, there will
be no exposed fasteners for the rudders.
- One by one, I drilled out the rivets, c'sunk the rudder, and replaced them
with flush rivets. Took a couple of hours.
|
|

|
|
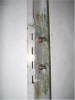
New flush rivets for Rudder Hinge
|
|
|
|
Rudder Hinge held onto Winglet with Clickbonds and nuts, after glassing in place
|
|
|
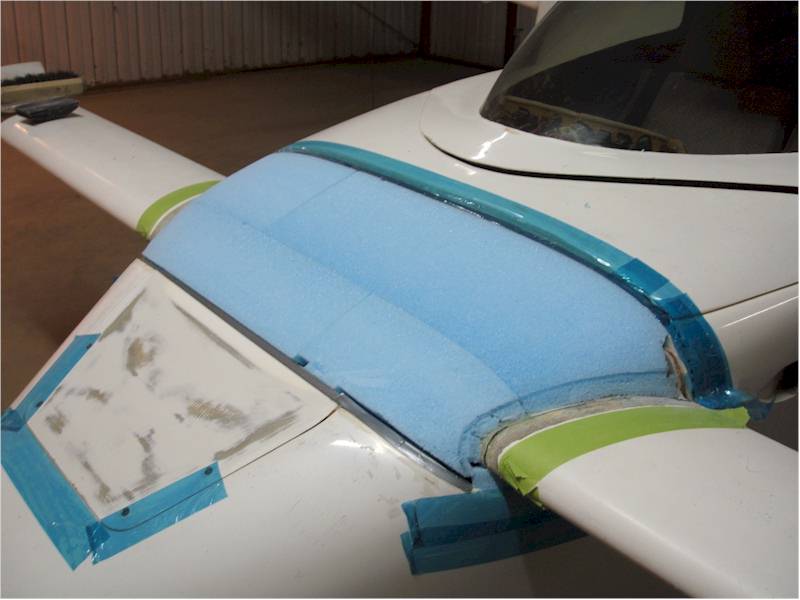
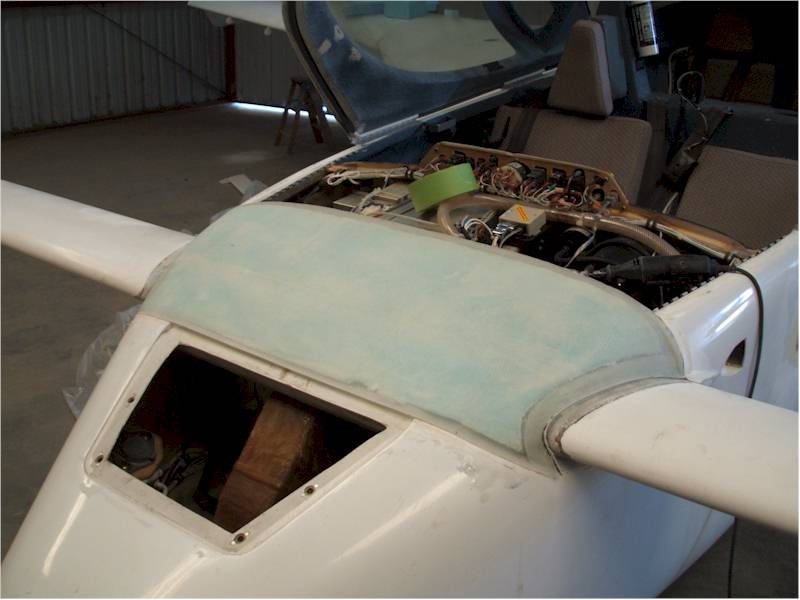
New Removable Canard Cover:
I then carved some wing styrofoam to shape for a new canard cover, made some
depressions 1.25" near the top of the canard, and then glassed a 4 BID flange
1.25" high to the canard, covered that with Peel Ply, and then glassed 2 BID
over the top, lapping over the fuselage top, flanges, and nose door. After cure,
I carved the back to shape, keeping the foam about 1" thick, and glassed the
back with another 2 BID, with another layer of BID on the side flanges where it
would mount to the canard flange. I also laid up 2 BID on the back side of the
canard flanges for strength. 4 camlocs later, I had a removable canard cover and
access to the 5 screws on the front of F-28 holding the fuselage top on.
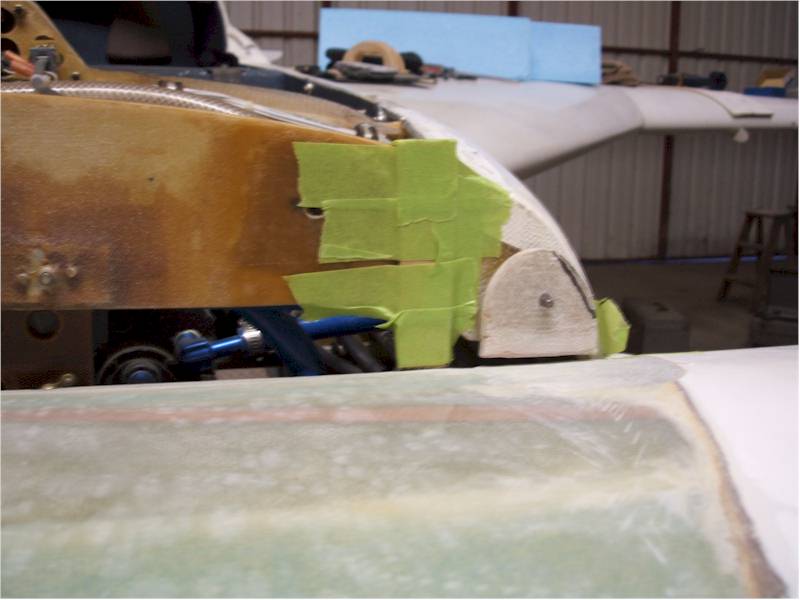
Canard Incidence Angle Change (Increase 1 degree):
I removed the canard and sawed off the canard cover and foam, then sanded the
canard top. I calculated the deflection that I wanted for the TE of the canard
to get 1 degree of increased incidence, marked the existing TE position on F-28,
and then sawed off the alignment tabs. I sanded most of the BID off of both the
front and rear of the alignment tabs, as well as the mating areas of the canard
TE. I then fixtured the canard in place, lowered the TE the required amount, and
5-min epoxied the tabs back on. I then glassed all the required BID back in
place on the canard and alignment tabs. Next, I put a flox bed under the LIFT
tabs on F-22, because they were no longer flush, being angled 1 degree. This
ensures that the whole lift tab is flat on F-22, and is not under any bending
stress when in flight.
|
|
|
|
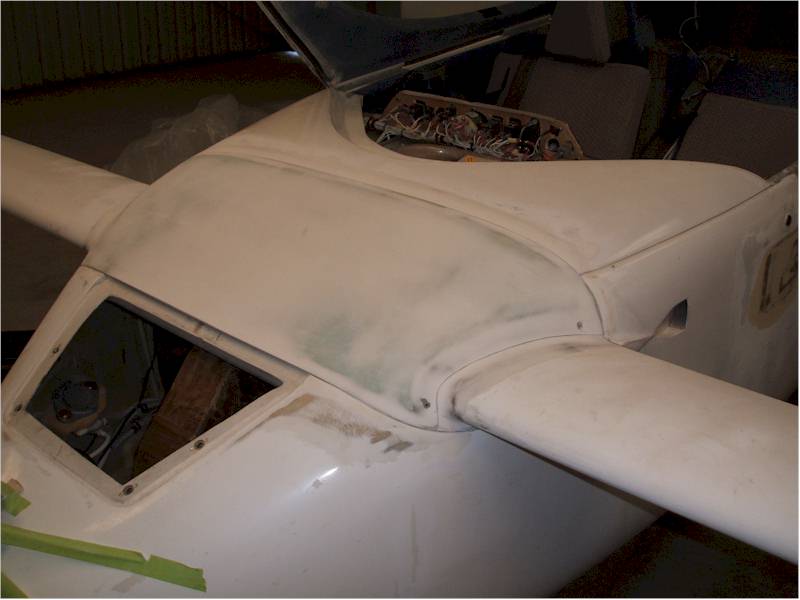
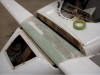
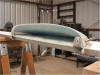
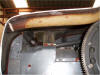
This is the original canard and canard cover
|
|
|
|
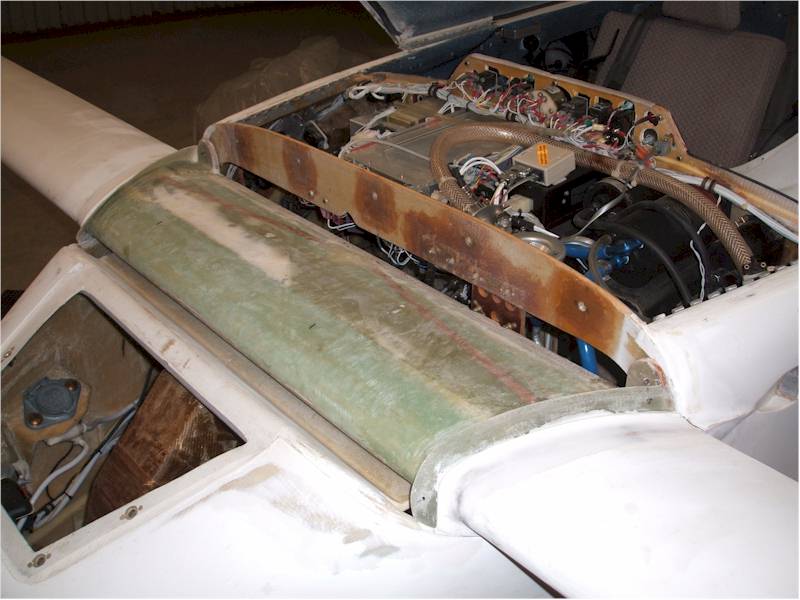
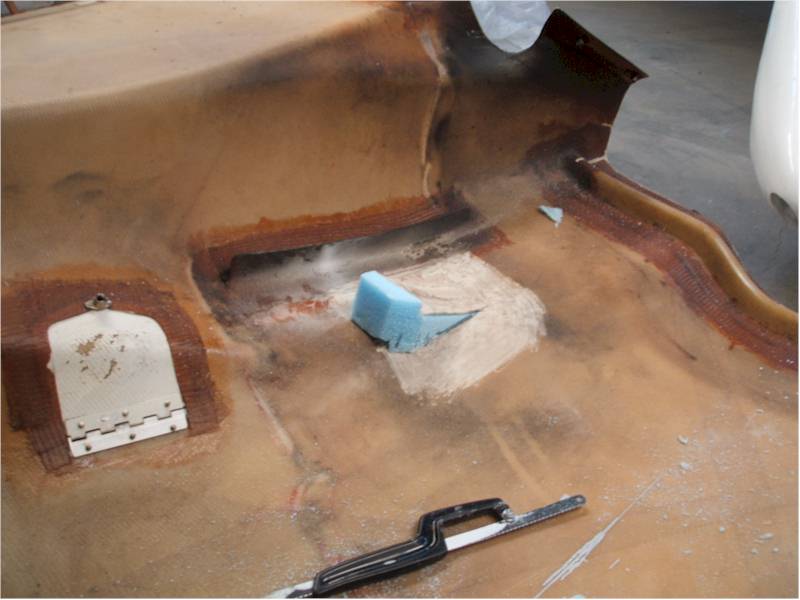
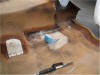
Here are the old lift tabs, after canard cover removal
|
|
|
|
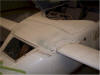
This is the canard positioned with the TE down to get the 1 degree of increased incidence, after the alignment tabs were sawed off
|
|

|
|
Carved foam for new canard cover
|
|

|
|
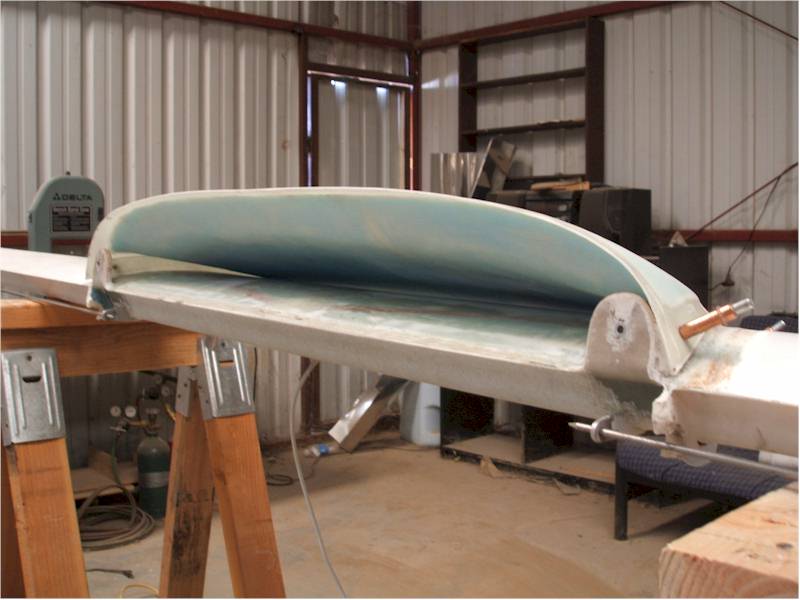
Glassed exterior of canard cover
|
|
|
|

|
|
Glassed cover in place on canard flanges - held with Clecos
|
|

|
|
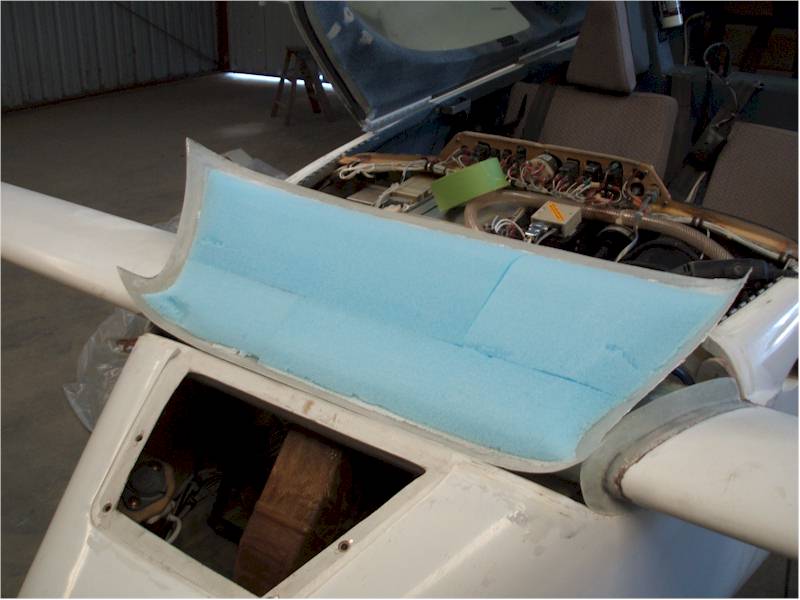
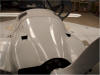
Bottom of new canard cover - ready for glassing
|
|
|
|
Bottom of new canard cover glassed, in place on canard with Clecos, showing new lift tabs
|
|

|
|
Canard in place with new cover flanges
|
|
|
|
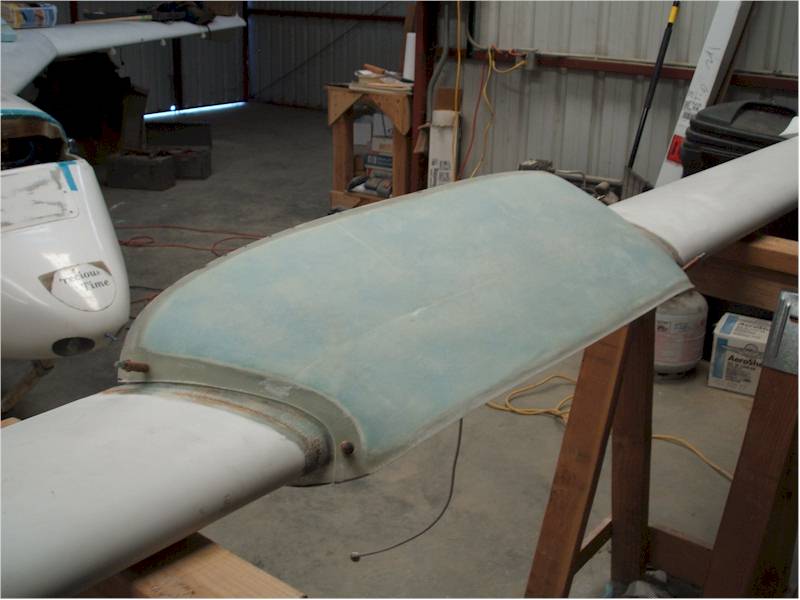
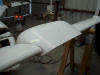
Finished canard cover with micro - just needs paint
|
|
|
New Top Cowl Air Exhaust Scoops for Cylinders 3 and 4:
I measured the position for the scoops, cut out the outline, and then
hot-glued some foam in place to bend the cutout down. I then glassed 3 BID over
the sides of the scoop area and dug out the foam. This was one cure cycle, and
maybe 6 hours of work, total.
|
|
|
|
This shows the cutout scoop with the foam holding it in place for glassing the sides
|
|
|
|
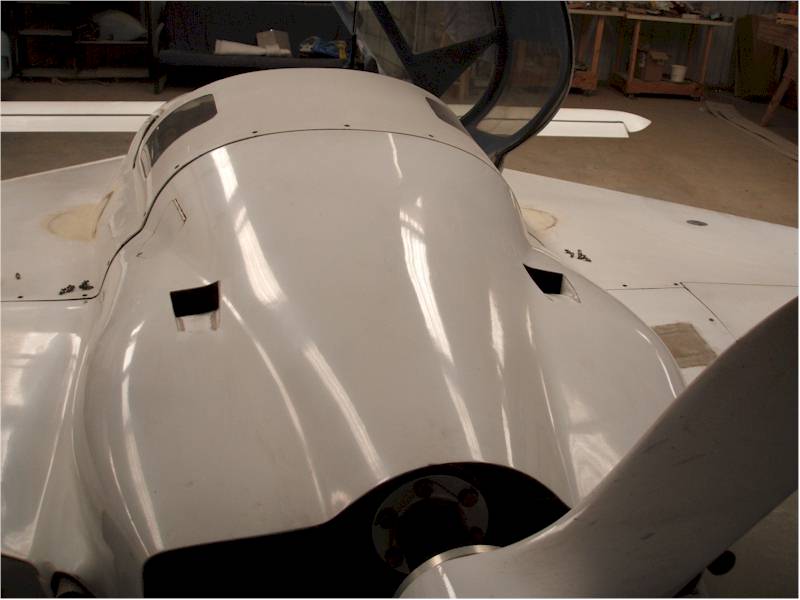
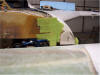
These are the two new air exhaust scoops in the cowl top
|
|
|
|
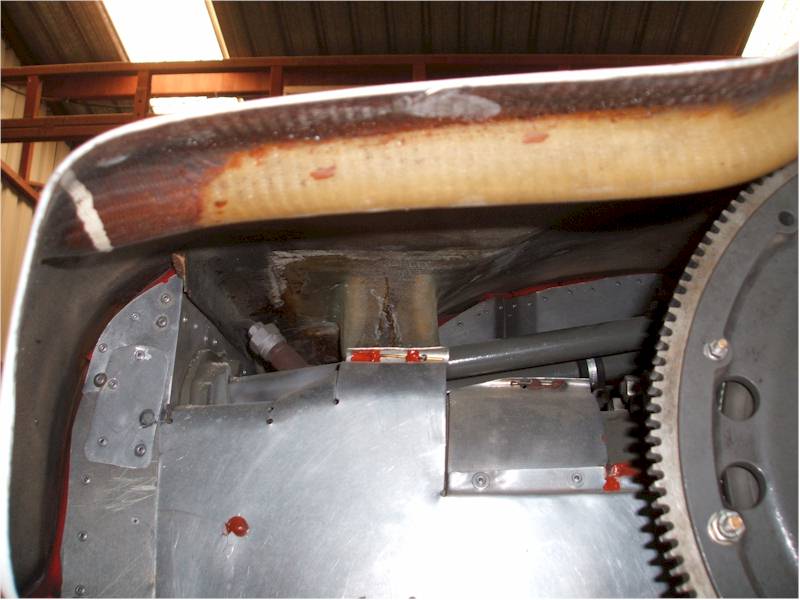
Exhaust scoop over the cylinder head as seen from behind
|
|
|
Replace Rudder Torque Tube Bolts with Tapered Pins:
I used a tapered reamer and replaced the 4 bolts in the rudder pedal cross
torque tubes with taper pins. Took a couple of hours, max. NO play in the system
anymore. Not that I could feel it in flight, but it always bothered me when
working on the rudder system.
No pictures for this - it's pretty self explanatory.
[ Back ] [ Up ] [ Next ]
Copyright © 2008, All Rights Reserved, Marc J. Zeitlin