Desert Center Wing Repair - 1/28/2007
[ Up ] [ Wing Repair - Part 1 ] [ Wing Repair - Part 2 ] [ Wing Repair - Part 3 ] [ Wing Repair - Part 4 ] [ Wing Repair - Part 5 ] [ Wing Repair - Part 6 ] [ Wing Repair - Part 7 ] [ Wing Repair - Part 8 ]
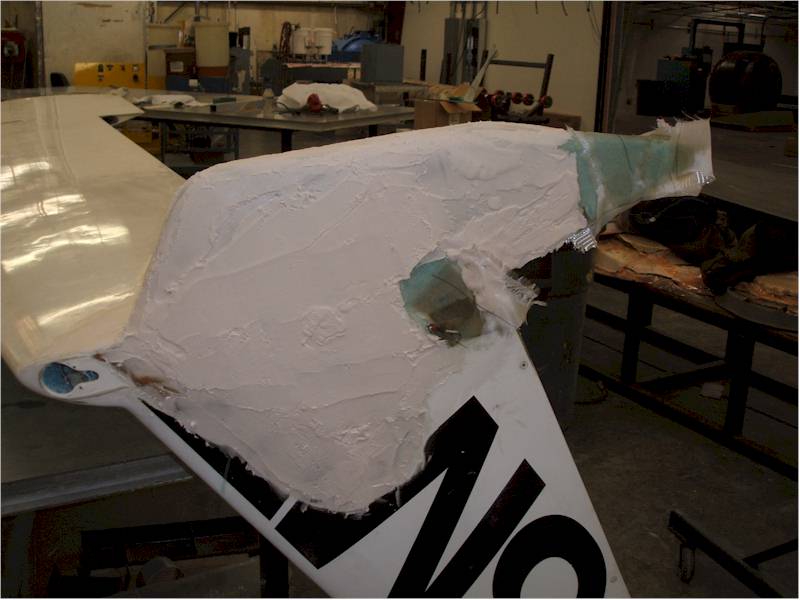
Sunday I went down to Scaled and removed the peel-ply from the previous day's
layups. I then did the last external layup on the outside of the winglet and a
small patch over the hidden belhorn area on the outside of the winglet. Then I
started mixing up a few batches of micro. Remembering the first time I finished
this plane, and the way I had put on numerous thin layers of micro, I vowed NOT
to do that again (plus, I had heard lots of advice to put on ONE thick micro
layer - lot's fewer cure cycles, and easier to sand).
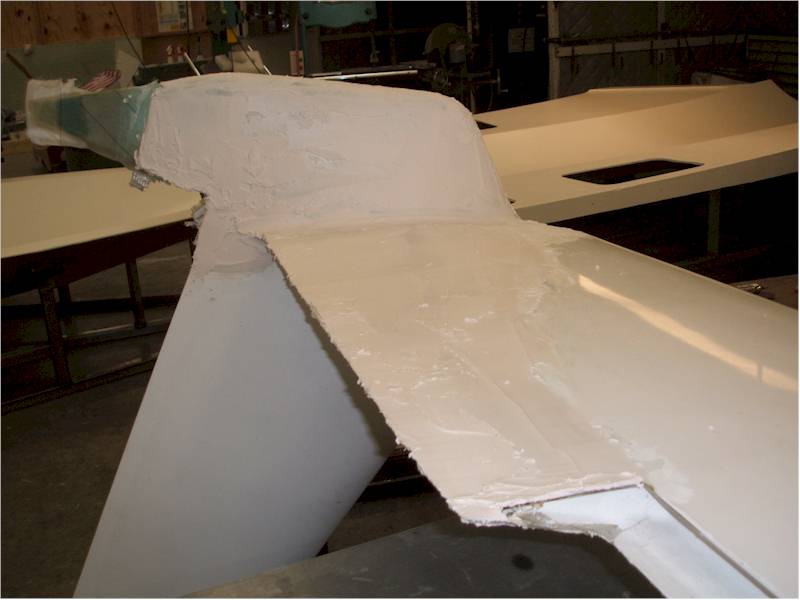
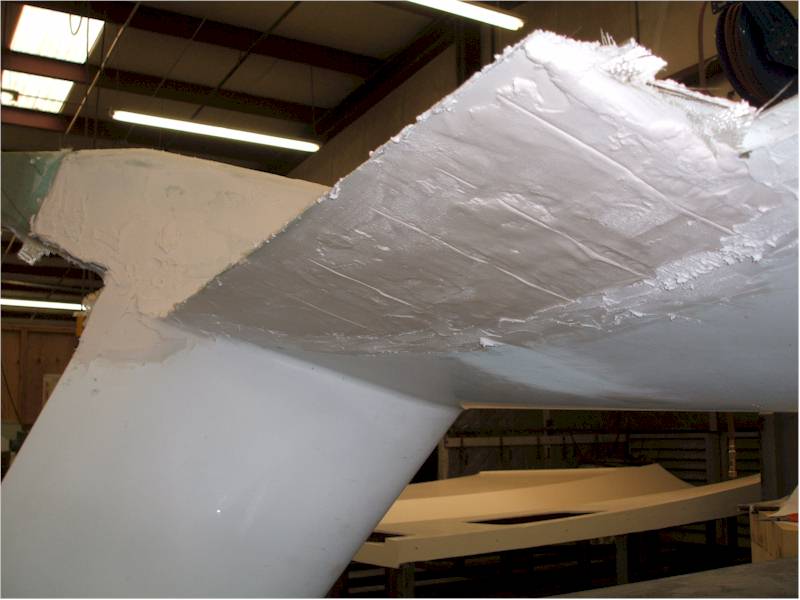
I smeared the micro on the winglet top and bottom exterior, as well as the
wing trailing edge top and bottom, the aileron top and bottom, and the inside of the lower
winglet. I used West with the fast hardener for most of it, after using up the
Pro-Set that I had mixed for the layups. Done - Short day - maybe a few hours.
|
|
|
|
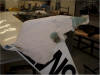
Micro'd Wing Bottom and Lower Winglet
|
|
|
|
Micro'd Winglet Outer Area
|
|

|
|
Micro'd Wing Top Surface
|
|
|
[ Up ] [ Wing Repair - Part 1 ] [ Wing Repair - Part 2 ] [ Wing Repair - Part 3 ] [ Wing Repair - Part 4 ] [ Wing Repair - Part 5 ] [ Wing Repair - Part 6 ] [ Wing Repair - Part 7 ] [ Wing Repair - Part 8 ]
Return to: Cozy MKIV Information
Copyright © 2007, All Rights Reserved, Marc
J. Zeitlin
e-mail: marc_zeitlin@alum.mit.edu
Last updated:
February 17, 2007